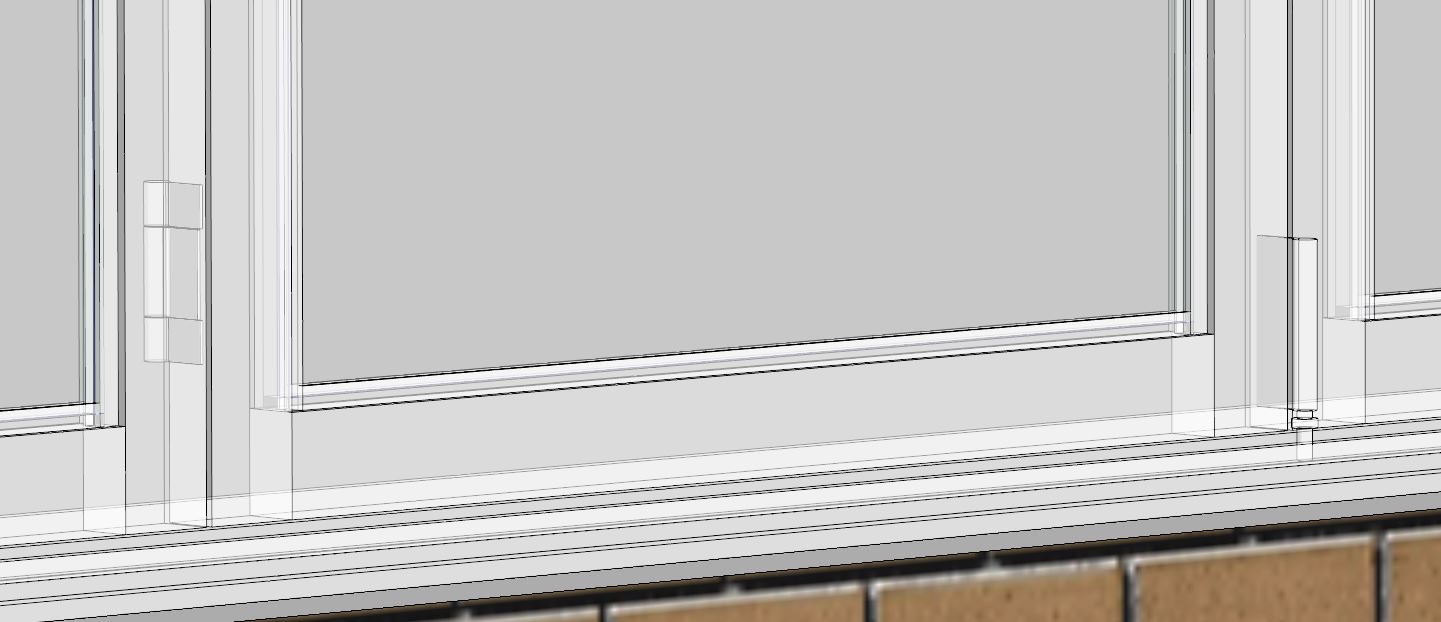
Did you ever want to create that single Bi-Folding window or door that could handle every possible configuration? Well the other day I did…
What is every possible configuration?
- Obviously Height/Width Control
- Obviously Position within the Wall
- Obviously Number of Panels
- Panels Stacking Left & Panels Stacking Right
- Single or Double Glazed
- Sub-Sill and Sub-Head Options
- Glass Thickness
In usual fashion I wanted to push Revit beyond its limits. This is all pretty easy if I simply ignore the hinges as every panel is basically the same. So of course I want to see the various types of hinges at Fine detail. So depending on where the panel sits in the configuration, it will effect what type of hinges it has either side. Enter, some complicated conditional statements.
So first step was to create the Panel as a nested Family. I then modelled up all the hinge options for both the left and right hand side of the panel and connected each option to its own Visibility parameter. I wanted each option to be mutually exclusive, as I didn’t want to see 2 hinge types on the same side at the same time. So I connected these visibility parameters conditionally to an Integer parameter (which I’ve explained in previous posts).
With this family created I nest it into the host family, and connect up the Left & Right Hinge Condition parameter to a matching parameter in the host. Now the tricky part, figuring out the formulas… If this was software programming it would be a pretty simple task. But breaking it down to simple conditional statements makes it trickier. Enter my go to tool, for formulas Notepad++, as it helps you get the brackets correct and I can space things out nicely on new lines.
I established there were 7 potential configurations for each side of the panel:
- Left Stacking/Visible/Last
- Left Stacking/Visible/Mid
- Right Stacking/Visible/First
- Right Stacking/Visible/Mid/Even
- Right Stacking/Visible/Mid/Odd
- Right Stacking/Visible/Last/Even
- Right Stacking/Visible/Last/Odd
So how do I translate these into Revit formulas. Lets analyse Panel 3 from the left (NOTE: I used validation parameters to make sure what the user inputs for Panel Counts is within the accepted range).
Condition 1 = if(Panel Left Stacking Validation=3)
Naturally for Panel 3 to be the last panel in the stack, then the left stacking parameter needs to equal 3.
Condition 2 = if(Panel Left Stacking Validation>3)
Likewise, for Panel 3 to be a mid panel, left stacking must be greater than 3.
Condition 3 = if(and(Panel Count Validation=3,Panel Left Stacking Validation=2))
For Panel 3 to be the first right stacking panel (closest to the right frame). The only way this can occur is if there are 3 panels in total and 2 of them are stacking left.
Condition 4 (5-7 similar) = if(and(Panel3, Panel Left Stacking Validation<2,(roundup((Panel Count Validation-2)/2)=rounddown((Panel Count Validation-2)/2))))
Now we are getting more complicated. So obviously Panel 3 needs to be visible, only 2 panels or less can be left stacking, otherwise this would be in the left stacking bunch. The next part calculates whether this is an even or odd panel. By taking the total panel count and subtracting one less than the position of this panel, I know what number panel I have from the right. EG: if there were 7 panels, subtract 2, I know this is the 5th panel from the right.
So now I need to figure odd, is this number odd or even? This is where roundup/rounddown comes in handy. In this example if I divide the number by 2, I’d get 2.5, so we simply do one formula that rounds up and one that rounds this number down, if they don’t match then we know that it’s an odd number panel. If they do match, we know its even. EG: 4/2 = 2 (its already round, so the rounding parameters will have no effect).
Bundle that all into one formula and there you have it. Easy right!
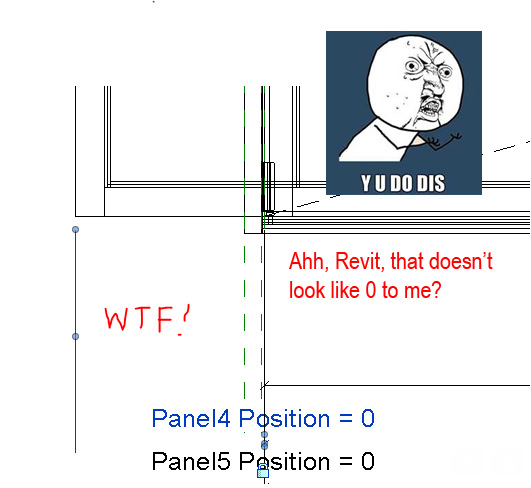
Enter Revit frustratingness! I had some parameters controlling each panels offset from the side. It seems that when these visibility parameters for the hinges were hooked up, all sorts of weird anomalies/bugs with the position constraints surfaced:
Enter 5 hours of me trying to find a workaround/solution for this stupid bug! Ultimately the solution that worked for me (and this is very much a bug in Revit), was to not have the panels move in the host family. I added the position offset parameter inside the nested family and hooked things up. Then the constraints seemed to work again. This was so frustrating when you think you’ve finished!!


